Dental assistants are an integral part of a dental practice. A dental assistant takes on many duties that help make a patient feel comfortable while also aiding a dentist in complex procedures. One of a dental assistant’s most common tasks is taking dental impressions.
Risio Institute offers high-quality dental assistant training program in Canada, which prepares you to take impressions and handle other complex procedures with accuracy and confidence. In this article, we will go over a dental assistant’s role in taking dental impressions, as well as the issues commonly encountered in the process—and how to solve them.
See also:
What is a Dental Impression?
Dental impressions are indentations of your mouth that include your teeth, gums, surrounding tissues, and other oral structures. Depending on what the impression is being used for, either one or two trays will be filled with a special type of impression material and will be placed in the mouth. If taking impressions of both the top and bottom teeth, impressions for each set will be taken one at a time.
The purpose of a dental impression is to obtain an accurate model of the mouth. This will be necessary for creating a variety of customized restorations, appliances, and services, such as:
- Dental crowns or bridges
- Dental implants
- Whitening trays
- Retainers
- Mouth guards
- Diagnoses and treatment plans
- Dentures
What Does a Dental Assistant Do When Taking Impressions?
If you’re a dental assistant, you might not always be required to take a patient’s dental impressions yourself—but in many regions of Canada, you’ll still have to know how. Depending on the practice where you work and the scope of your responsibilities, you could be asked to take the impressions yourself or assist a dentist in taking them.
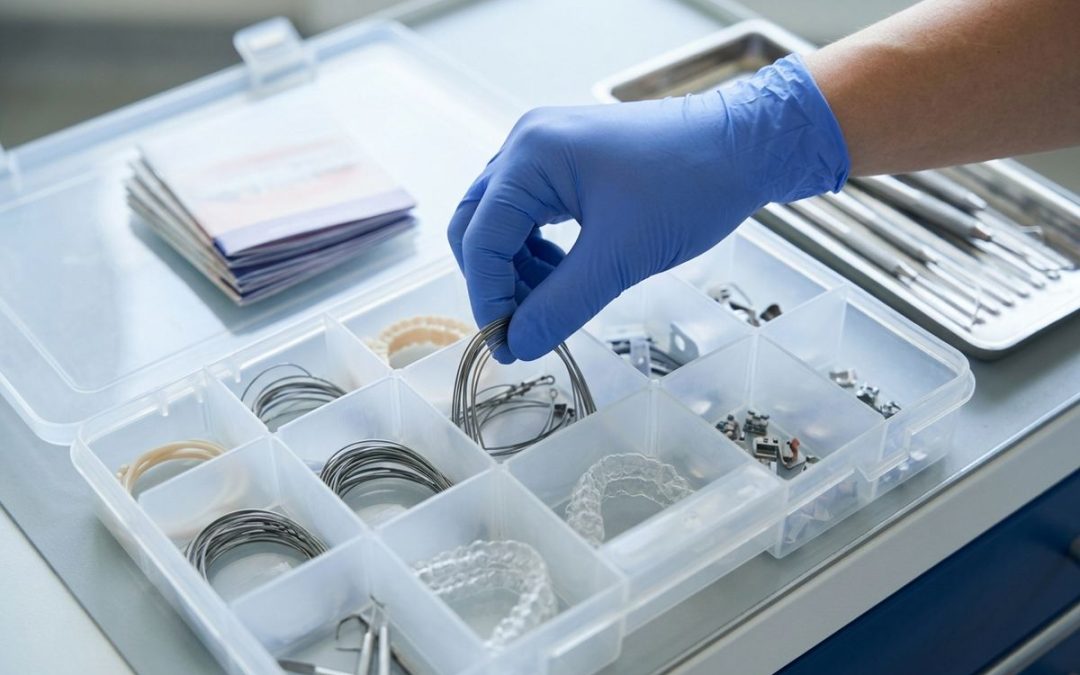
When taking dental impressions, the dental assistant is often responsible for sizing the tray, mixing the impression material, placing the tray, and removing it afterwards. The process of taking a dental impression needs to be quick, as the impression material begins to harden within just a few minutes. As such, skilled dental assistants are required to ensure convenient and efficient impressions for patients.
The Steps Involved in Taking a Dental Impression
Each step of taking a dental impression is crucial for its accuracy. If one step is done improperly, it can affect other parts of the process and make the impression unusable. Here are the steps of taking a dental impression:
- First, the trays that hold the impression material are placed in the mouth to ensure a proper fit.
- The dentist or dental assistant will then fill the tray with impression material.
- Next, the tray will be placed into the mouth and held steadily until the mold has set.
- The final step is removing the trays from the mouth gently.
Common Issues in the Dental Impression Process and How to Overcome Them
Although dentists can take dental impressions themselves, completing the process properly is often complex. Dental assistants are expected to know the ins and outs of this procedure to properly assist in taking accurate impressions. Here are some of the common issues both dentists and dental assistants encounter during this process—and how to avoid them.
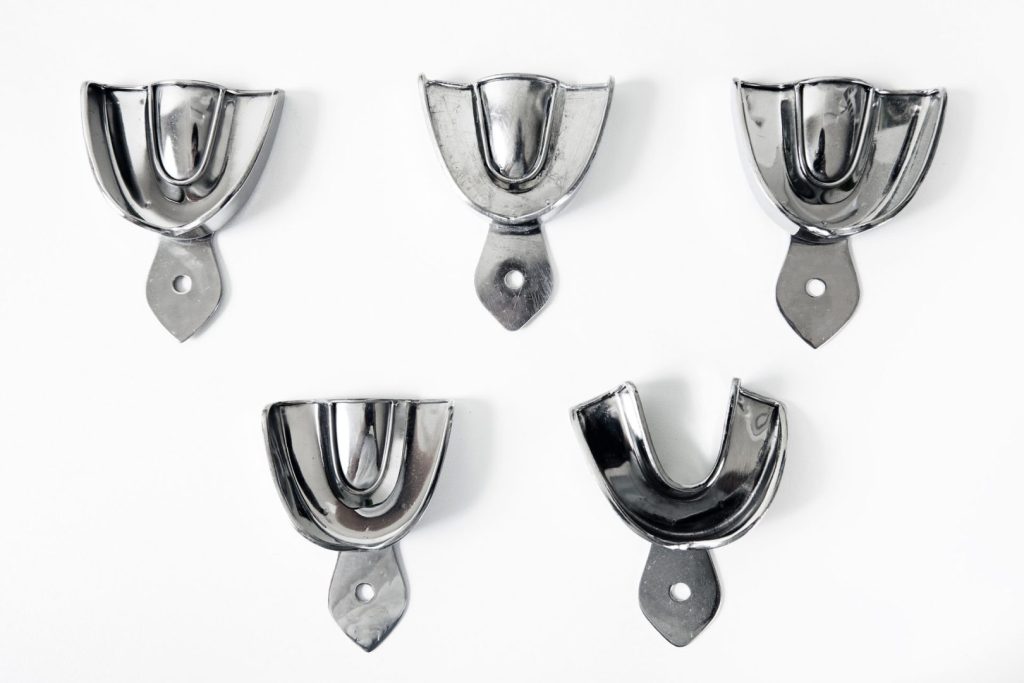
Tray Sizing & Fitment Issues
Using the right size tray for the patients’ mouth and proper placement in the mouth can assist both the patient and dental assistant in the dental impression process. Before the impression material is put into the tray, it is important to place it in the patient’s mouth and make sure it is not touching any of the teeth.
Air Bubbles in the Impression Material
After fitting the tray to the patient’s mouth, the next issue to overcome is filling it with the impression material. It is important not to introduce air bubbles into the impression material. This can be avoided by keeping the tip under the surface of the impression material.
Patient Discomfort
Lastly, the trays can be uncomfortable for a patient when placing it in their mouth. A trick to overcoming this is to rotate the tray horizontally by 90 degrees and swiveling it into the patient’s mouth.
Gagging
Using the right size tray for the patient will help reduce gagging, but other steps can be taken to prevent gagging. Having the client sit up-right and tilt their head forward is a common solution to gagging as this allows the impression material to move toward the front of the mouth, rather than the back of the throat.
Another solution to gagging is asking the patient to breathe through their nose. This keeps the airway closed and can help increase a patient’s comfortability.
Additionally, you can remind the patient that it is ok to drool! If the patient is drooling, this means that saliva is coming out of the mouth, rather than travelling down the throat causing them to gag.
Problems Removing the Tray
Another issue in the dental impression process is removing the tray from the patient’s mouth. It is important to keep the patient comfortable while also removing the impression so it stays intact. A good impression will have a lot of suction, but this also means that the impression will be harder to remove.
A trick to breaking the seal caused by suction is to use a finger to push down on the impression while tilting the tray to the side. This will allow the impression to pop off and keep the patient feeling comfortable throughout the process.
Master Impressions & Other Key Dental Assistant Skills with Risio
Now that you have a general overview of what dental impressions require and how a dental assistant is involved in taking them, you can choose a dental assistant training program that helps you master these complex skills. At Risio Institute, we’ll provide you detailed knowledge and hands-on experience to give you confidence when completing these procedures! Contact us to learn more about this rewarding career.